A/B testing basics
In this topic:
A/B testing best practices
To make sure you have a solid understanding of exactly what your users are responding best to, you’ll want to make sure you only change one thing between each variant. This could be the copy, the color, or emojis.
It’s also important that you maintain a control group for your A/B test. Control groups are an important part of the data process—they can tell you whether you might have had better results without a message at all.
Adding or removing creatives
In the A/B testing section of the Message Builder:
- To test an existing message, select Clone.
- To add another message to your campaign, select the green + Add Creative button. If you are testing push messaging across Android and iOS apps, select + Add Variant.
Note: You can add up to 10 creatives.
-
To remove a creative, drag the Active slider to Off or select the trash can icon and then confirm that you want to delete the creative.
A/B test setup
In the Test Creatives section of the Message Builder:
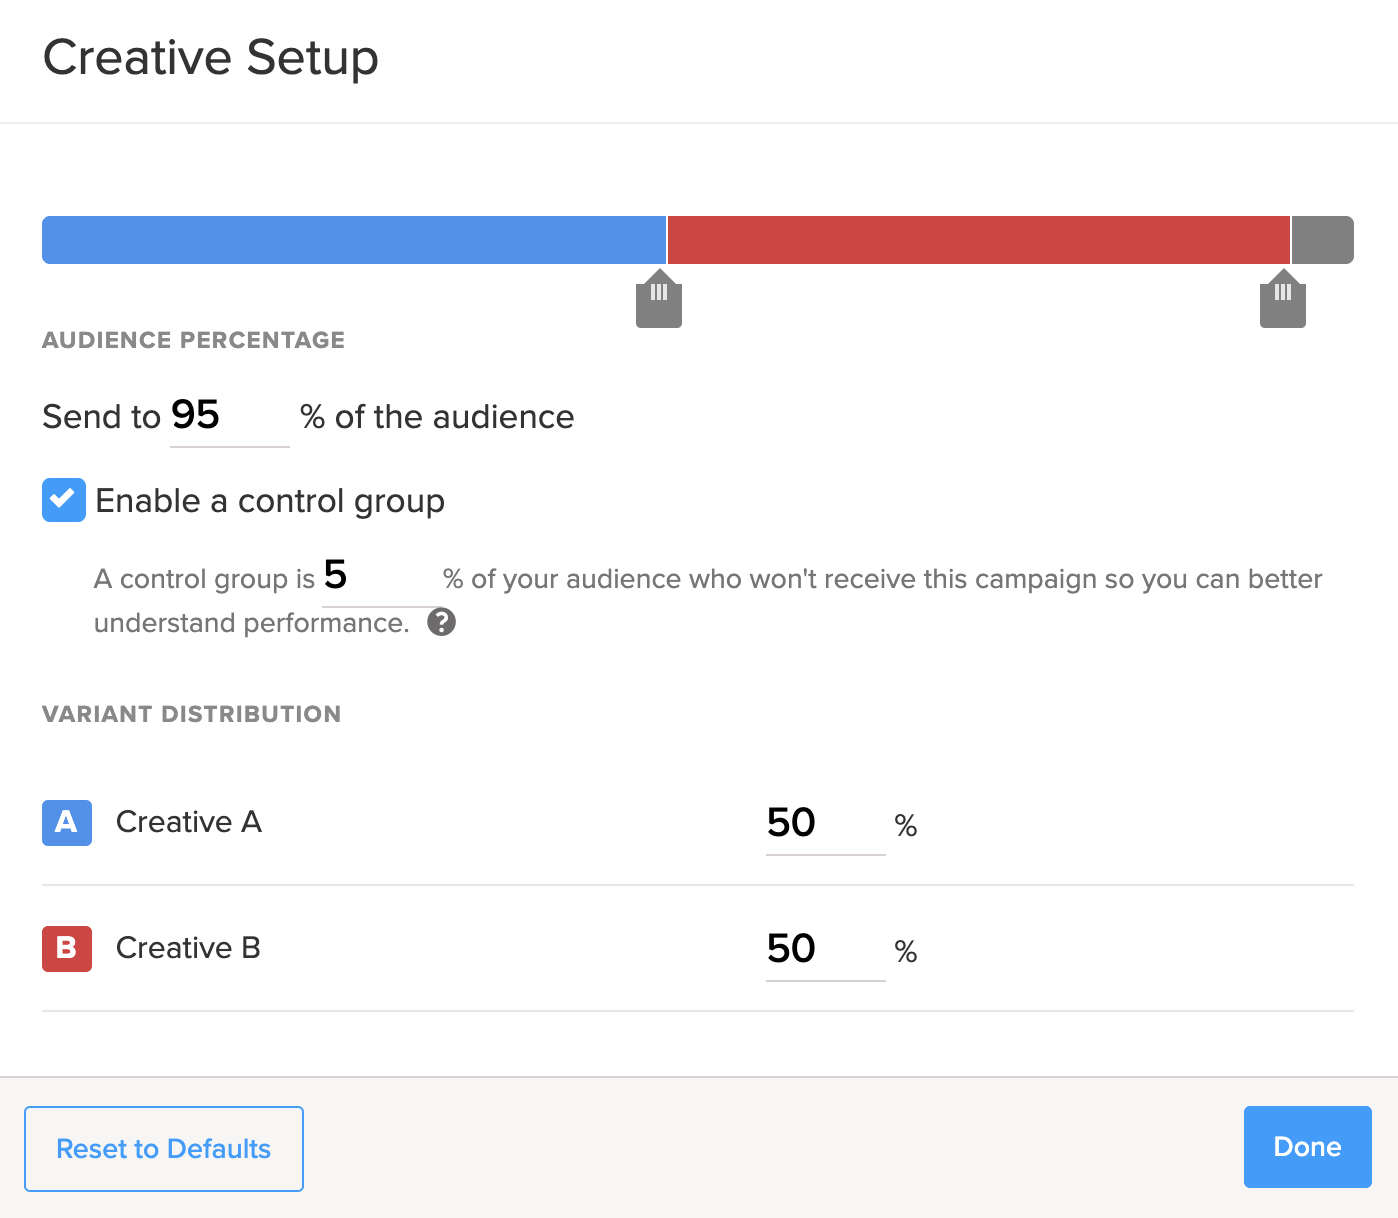
- Select A/B Test Setup. If you are testing push messaging across Android and iOS apps, select an app in the center column and then select
 A/B Test.
 - Select the Enable a control group check box (highly recommended).
-
Drag the slider to adjust the distribution of each variant, or enter percentages.

- To adjust the size of the control group, select the percentage to automatically update the percent of the audience who will not receive the message.
- If you make a mistake adjusting your variants, you can select Reset to Defaults to set every variant back to an equal percentage and your control group back to 5 percent.
- When you’re finished, select Done.
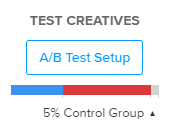
You see a graph with the distribution of messages for each group:

-
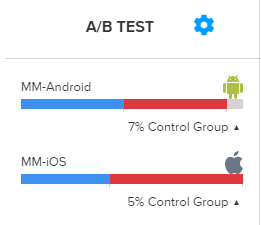
If you are testing push messaging across Android and iOS apps, select the second app in the center column, and then select
 A/B Test. Select the distribution settings for the second app. When you are done, you see a graph with the distribution of messages for each group within each app: